A digital scan can make a restoration easier to design, reproduce and adjust, but it does not remove the need for sound tooth preparation, moisture control, material selection and clinical checks. By following the workflow, trade-offs and warning signs, you can judge whether a CAD-CAM restoration is appropriate and what questions to ask before treatment.
Key takeaways
- Treat decay, cracks and gum infection before scanning or preparing the tooth.
- Check the digital bite, margins and contacts before accepting a restoration.
- Choose zirconia, ceramic or another material based on location and chewing forces.
- Protect the result with daily cleaning, regular reviews and a night guard when prescribed.
What happens during a CAD-CAM dental restoration workflow?
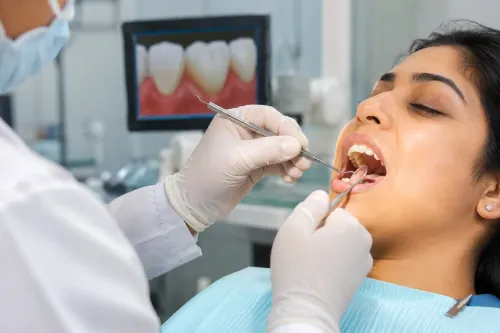
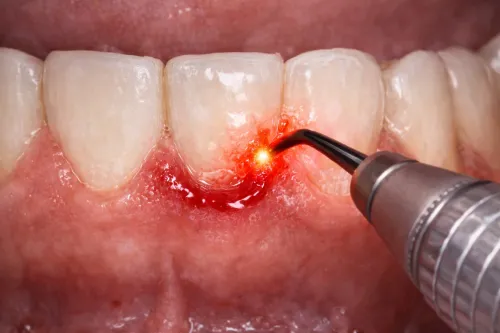
1. The dentist examines the tooth, surrounding gums and bite before planning a restoration. Decay, cracked tooth structure or gum infection is treated first; local anaesthesia is used when preparation could cause discomfort.
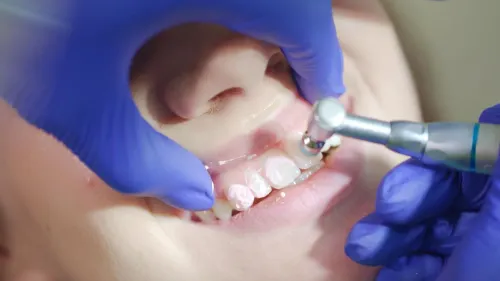
2. The tooth is reduced to create space for the crown, bridge or other restoration. The dentist shapes clear finishing margins and keeps the area stable and dry. A temporary crown may protect the prepared tooth while the final restoration is made.
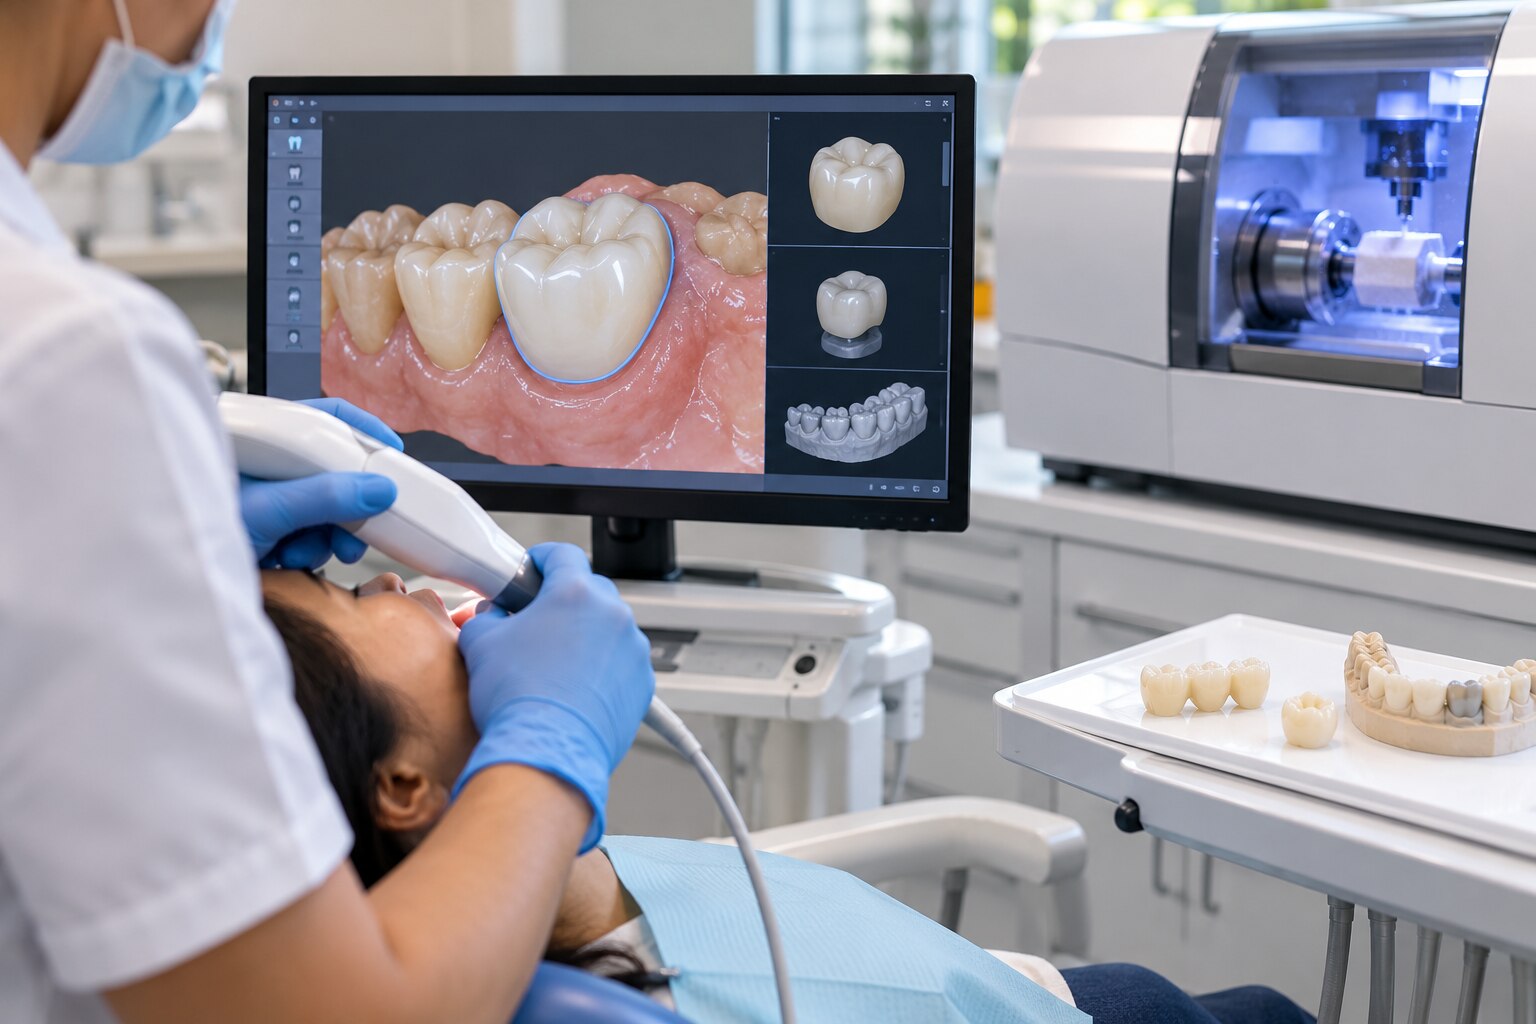
3. An intraoral scanner records the prepared tooth surfaces, neighbouring teeth, opposing arch and bite relationship. This intraoral scanner workflow replaces or reduces conventional elastomeric impression material, but scanning cannot correct unclear margins, movement, saliva or blood.
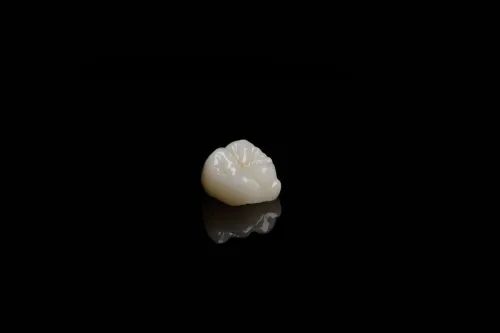
4. CAD-CAM dentistry then uses computer-aided design to create the restoration digitally. The software and dentist check the margin, contact points, bite, emergence profile and available clearance. Computer-aided manufacturing mills the design from a ceramic, zirconia or other block, or produces it through additive printing.
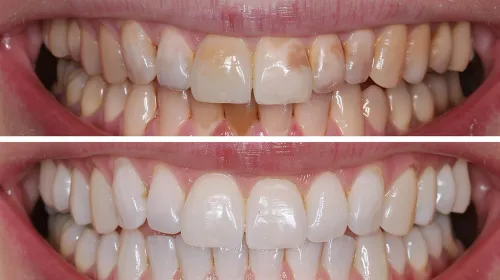
5. The dentist tries in the restoration and checks its fit, contacts, colour and bite. Adjustments may be needed before final cementation for a tooth-supported restoration or screw retention for an implant restoration.
Milling, crystallisation or sintering, glazing and polishing can add time, so a same-day appointment is not guaranteed, especially for complex bridges or difficult margins.
A review appointment may confirm comfort, bite and gum response after placement. If the scan, preparation or bite changes, the dentist may need to rescan rather than reuse the original file.
How does digital design improve fit, and what can still go wrong?
A digital model improves fit by letting the dentist inspect the restoration and bite relationship before manufacturing. It does not guarantee clinical fit. The dentist and software assess:
- Crown margin adaptation at the prepared finish line
- Proximal contact points against adjacent teeth
- Occlusion and the emergence profile
- Tooth-reduction clearance for material thickness
- Bridge connector dimensions, pontic position and path of insertion
A bridge must coordinate both abutment teeth, not simply place two separate crowns. Its connector cross-sectional area, span length, shape and load distribution must suit the material; an attractive design with undersized connectors can fracture or follow an impractical insertion path.
Digital dental impressions are judged by scan trueness and precision. Trueness means closeness to the real tooth geometry; precision means repeatability between scans. A scanner can repeat the same distortion, so a high-resolution scan is not automatically clinically accurate.
Saliva, blood, reflective enamel or metal, poor retraction, tooth movement, inadequate preparation, incomplete bite registration and scan-stitching errors can shift the result. Long edentulous spans, full-arch scans and implant cases accumulate distortion more readily than localized scans. A CAD-CAM occlusion check still requires clinical verification.
Milling tools cannot cut every sharp internal angle or deep undercut. Rounded internal angles, adequate taper and sufficient clearance prevent blocked-out anatomy or thin areas. Zirconia is milled partly sintered, then shrinks during firing; a calibrated furnace, correct material selection and matching CAM library are essential for final fit.
Which restoration and material should the digital design produce?
A crown is not the default answer. Match the restoration to remaining tooth structure, gum health, bite forces and the condition of adjacent teeth; implants also require adequate bone support and a stable implant position. For bridges, check span length, connector cross-sectional area and material-specific design limits against requirements such as ISO 6872.
An attractive CAD design can still fracture if its connectors are undersized.
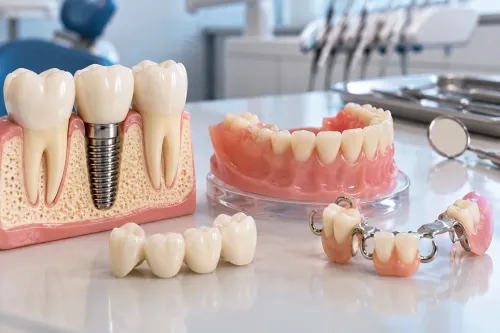
| Restoration | Best fit | Main limitation |
|---|---|---|
| Crown | Protects a heavily restored or weakened tooth | Requires enough sound structure and ferrule |
| Fixed bridge | Replaces a short missing-tooth span using adjacent teeth | Shaves down abutments; weak or mobile teeth and poor gums raise failure risk |
| Implant-supported crown | Replaces one missing tooth without preparing neighbours | Needs adequate bone, healthy gums and correct implant position |
| Implant-supported bridge | Replaces several missing teeth on implants | Requires bone support, cleansable design and careful load distribution |
| Inlay | Restores a contained cavity within the cusps | Unsuitable when cusps are cracked or extensively weakened |
| Onlay | Covers one or more weakened cusps while preserving more tooth | Needs reliable bonding and manageable bite forces |
| Veneer | Changes the front surface of a structurally sound visible tooth | Poor choice for major decay, little enamel or heavy grinding |
CAD-CAM material changes the result. Lithium disilicate crowns balance strength and translucency, bond predictably and allow detailed shade characterization. Zirconia CAD-CAM restorations provide high strength; monolithic zirconia reduces veneering-porcelain chipping but has trade-offs in translucency, repairability and surface finishing, so it is not automatically ideal for every front tooth.
Hybrid ceramic suits selected conservative cases and is easier to repair than zirconia. Resin provisional crown material is for temporary use. Metal remains useful where strength and limited space matter, with less tooth-like appearance. Confirm wear against opposing teeth, cementation protocol and whether the design is monolithic, layered or printable before approving it.
Should you choose chairside milling, an in-house lab or an outsourced laboratory?
A same-day crown milling appointment reduces visits only when the case, equipment and schedule fit. Milling may still be followed by crystallization or sintering, staining or glazing, polishing, proximal-contact adjustment and a clinical try-in.
| Option | Main advantage | Trade-off |
|---|---|---|
| Chairside same-day crown milling | Fewer appointments and immediate clinical feedback | Limited by case complexity, material and finishing time |
| In-house dental laboratory | Close communication and rapid design changes | Usually requires a later fitting appointment |
| Outsourced dental laboratory | Wider material choices, complex characterization and specialist technicians | Shipping adds turnaround time and another handoff |
Choose an in-house dental laboratory when the dentist and technician need to refine contacts, contours or shade together. Choose an outsourced dental laboratory for long bridges, demanding esthetic characterization or materials and techniques unavailable on-site. A visually attractive bridge can still fail if its connectors are undersized or its insertion path is impractical.
Conventional dental impressions and a manual laboratory workflow remain sensible for difficult subgingival margins, long or complex bridges, extensive occlusal rehabilitation and restorations requiring detailed custom characterization. Blood, saliva or retraction problems can compromise a scan more than a carefully managed elastomeric impression.
At Sri Krishna Multispecialty Dental & Implant Studio, ask these production questions:
- Does the scan include both arches and the bite?
- Which material is being used?
- Who designs and mills the restoration?
- Is it checked digitally, on a physical model, or both?
- What happens if the fit or bite needs correction?
“Precision fit” and “digital accuracy” do not identify scan quality, manufacturing tolerance, margin adaptation or long-term performance.
Related service
Crowns & Bridges Precision-Fit Restorations for Damaged or Missing Teeth – Designed Digitally for Function and Esthetics Crowns and bridges are fixed dental... View service → |
When is CAD-CAM incomplete, and how do you protect the result afterward?
A digital design cannot rescue active decay, uncontrolled gum disease, insufficient tooth structure, an incomplete root canal when one is indicated, unstable occlusion or inadequate isolation. Severe bruxism without protection is another CAD-CAM treatment limitation because repeated loading can fracture or loosen a precisely made restoration.
For an implant restoration, the scan body must be correctly seated, compatible with the scanner and software, uncontaminated, and matched to the correct implant-library geometry. A complete-looking scan can still transfer the wrong implant position if the scan body is loose or poorly captured.
1. Prepare for scanning by arriving with clean teeth, reporting grinding or clenching, and disclosing allergies and medications. Complete indicated gum or root canal treatment first. Expect possible tooth preparation, local anaesthesia, a temporary crown and one or more review visits.
2. Protect the restoration after placement: brush twice daily with fluoride toothpaste, use floss threaders or interdental brushes beneath bridge pontics, attend reviews and never use crowns or bridges to open packages or bite hard objects. Follow the prescription for a night guard.
3. Treat persistent high-bite discomfort, pain on biting, lingering sensitivity, food trapping, bleeding, looseness, cracks or a changed bite as dental restoration warning signs. Arrange a review rather than waiting for damage to worsen. Good bridge maintenance protects both the replacement tooth and its supporting teeth.
Frequently asked questions
What happens during a CAD-CAM dental restoration workflow?
The dentist examines your tooth, gums and bite, treats active disease, prepares the tooth, captures a digital scan, designs the restoration and mills or sends it for fabrication before fitting and checking it.
How does digital design improve the fit of a crown or bridge?
A digital scan records the prepared tooth and nearby teeth without conventional impression material. The dentist can inspect the margin, contacts and bite on-screen, but fit still depends on preparation quality, scan accuracy and final clinical checks.
Which restoration material should a CAD-CAM design produce?
The choice depends on the tooth’s location, available space, bite force, appearance requirements and whether the restoration is a crown, bridge, inlay or onlay. Zirconia, glass ceramic and other materials have different strength and aesthetic trade-offs.
Is chairside milling better than an in-house or outsourced laboratory?
Chairside milling can reduce visits for suitable cases. An in-house lab offers direct coordination, while an outsourced laboratory may provide specialist equipment and technicians. Compare turnaround time, design review, material options and quality checks.
When is CAD-CAM incomplete, and how do you protect the result afterward?
Digital design does not replace disease control, sound tooth preparation, accurate bonding, bite adjustment or follow-up. Clean around the restoration, attend reviews and use a prescribed night guard if grinding threatens it.